More Than Instructions: Your Installation System.
From subfloor prep to final inspection, integrate our proven procedures into your project workflow.


From subfloor prep to final inspection, integrate our proven procedures into your project workflow.
Following these steps will save you time and ensure a flawless, long-lasting result.


What to do: Bring the vinyl planks/tiles into the installation room at least 48 hours before installation. Keep the room temperature at a consistent 65°F - 80°F.
Why it matters: This allows the material to acclimate to your home's normal temperature and humidity, preventing expansion or contraction issues after it's laid down.

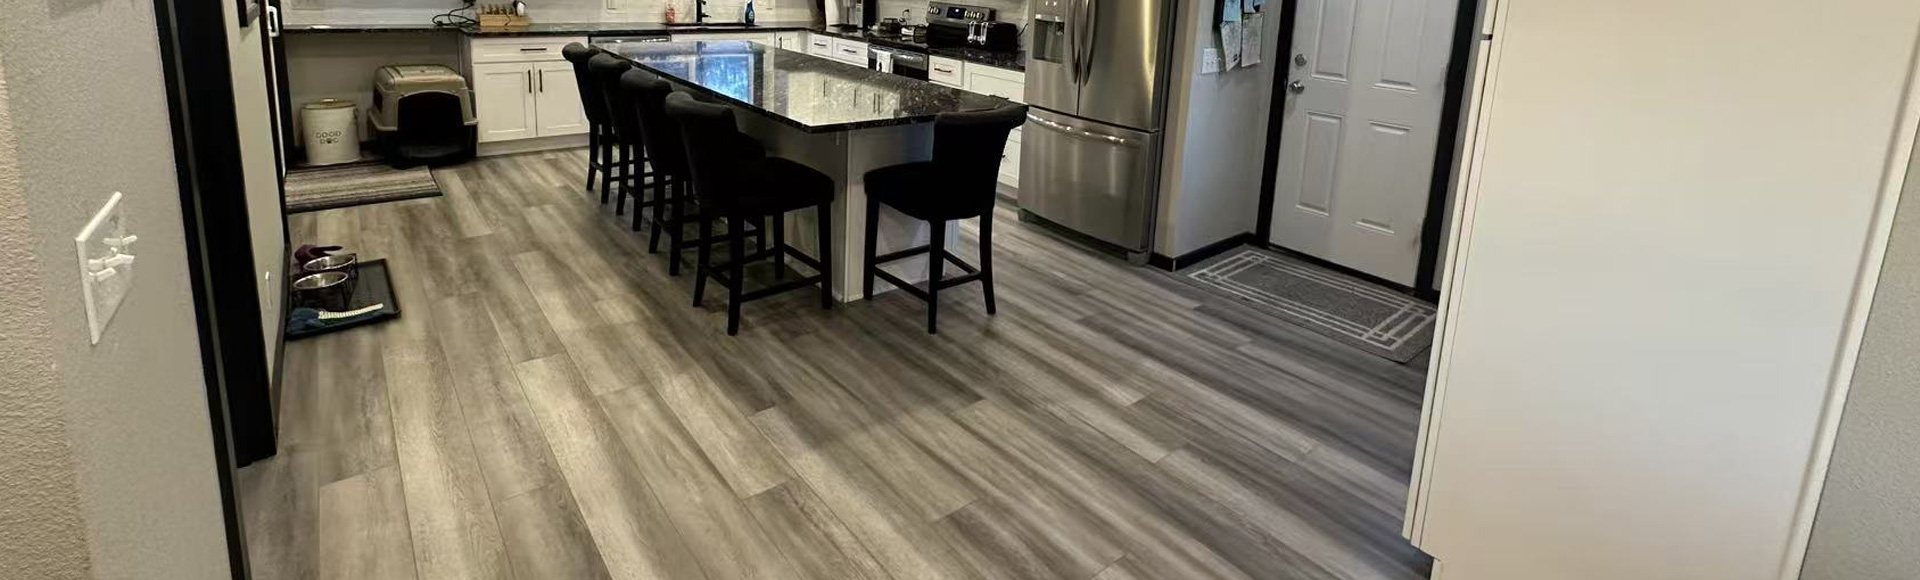
Your vinyl flooring is only as good as the surface beneath it. The subfloor must be:
Perfectly Clean: Free of all dust, wax, grease, and any debris. Vacuum and mop thoroughly.
Thoroughly Dry: Especially for concrete subfloors. Any residual moisture can damage the vinyl and void the warranty.
Remarkably Flat/Level: Variations must not exceed 3mm over a 1-meter span. Sand down high spots and fill low spots with a leveling compound.
Structurally Sound: Firm, rigid, and free of movement or squeaks. Any loose floorboards should be secured.

Plan to remove furniture, appliances, and old floor coverings (like carpet or old vinyl) from the room. Remember to detach and re-install baseboards and door jambs for a professional, floating floor installation.
While luxury vinyl flooring is DIY-friendly, professional installation is always an option.


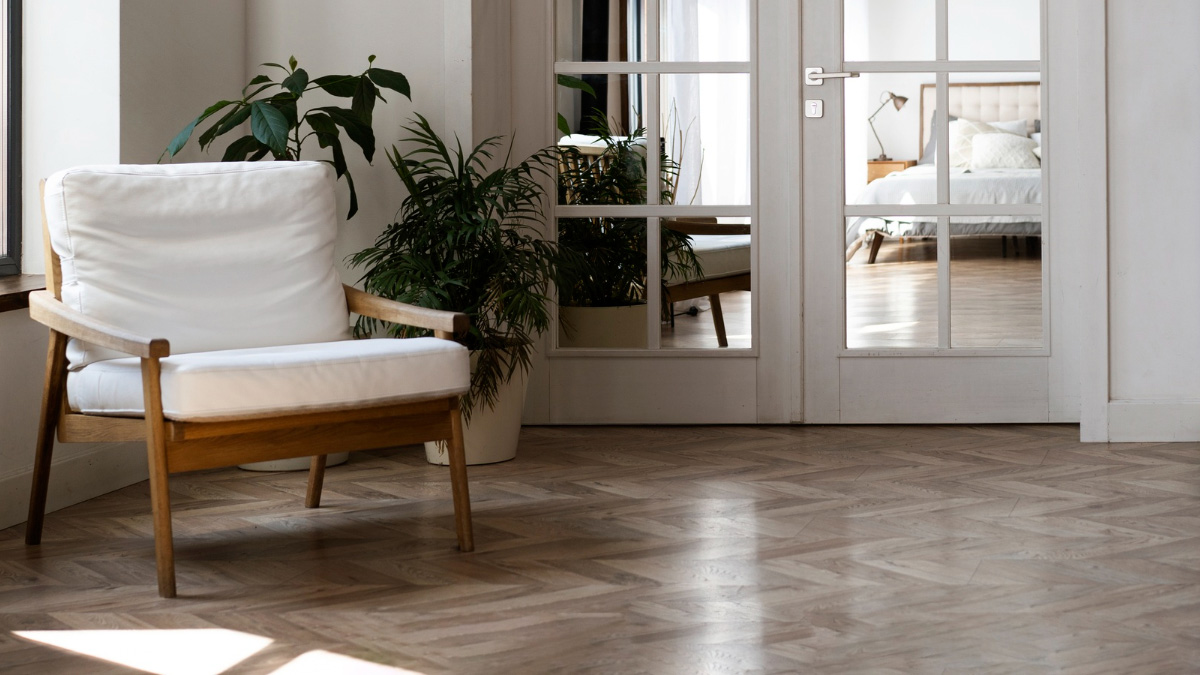
For a visually expanding effect, run the planks parallel to the longest wall or the main source of natural light.

Unbox several cartons and lay out planks/tiles without adhesive. This allows you to mix planks from different boxes for a natural color variation and to plan the best layout for seams and pattern matching.

Identify doorways where the vinyl will meet another floor type (e.g., tile, hardwood). You will need appropriate transition moldings for a clean, finished look.
Always refer to the specific installation instructions provided by the manufacturer of your chosen vinyl flooring product. Requirements can vary between rigid core SPC/WPC, luxury vinyl plank (LVP), and luxury vinyl tile (LVT).
Explore Our Vinyl Flooring Collection