More Than Instructions: Your Installation System.
From subfloor prep to final inspection, integrate our proven procedures into your project workflow.


From subfloor prep to final inspection, integrate our proven procedures into your project workflow.
Proper preparation is the most important step to ensure your new laminate floor looks beautiful and lasts for years


What to do: Bring the unopened boxes of laminate flooring into the center of the room where they will be installed.
Why it matters: Laminate is a wood-based product that needs to adjust to the normal temperature and humidity levels of your home. Skipping this step can cause expansion, contraction, and buckling after installation.
Duration: Leave the boxes in the room for at least 48 hours. Maintain a stable room temperature between 59°F - 86°F and a relative humidity level recommended by the manufacturer.

Ensure the room is climate-controlled. High humidity from basements or rooms below grade can be detrimental. Use a dehumidifier if necessary.
This guide will walk you through everything you need to know before you begin


Your subfloor must be as perfect as possible. Laminate flooring is not forgiving of an uneven base.
Clean: Sweep and vacuum thoroughly. It must be free of all dust, dirt, and debris.
Dry: Check for moisture, especially on concrete subfloors. A moisture barrier is often required.
Level: This is critical. The subfloor must be flat. Variations must not exceed 3mm over a 1-meter span. Sand down high spots and fill low spots with a leveling compound.
Structurally Sound: No movement or squeaks. Repair any loose floorboards.
Proper preparation is the most important step to ensure your new laminate floor looks beautiful and lasts for years

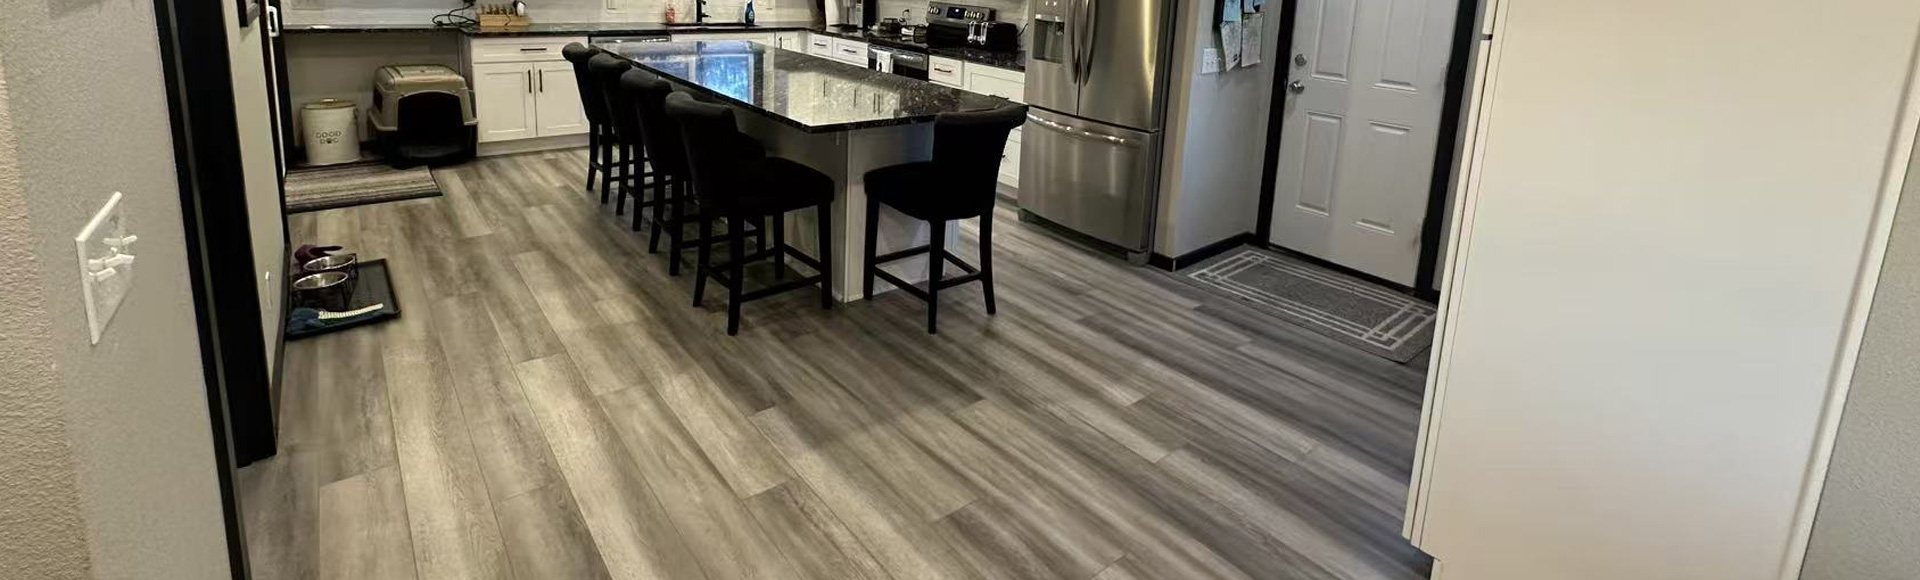
For the best visual result, install planks parallel to the main source of light (e.g., a large window) or the longest wall in the room.

Laminate flooring expands and contracts. You MUST leave a 5/16" - 1/2" (8-12mm) expansion gap around the entire perimeter of the room (against all walls, door frames, and fixed objects). Spacers are used during installation to maintain this gap.

Plan your cuts so that the end joints of adjacent rows are staggered by at least 12 inches (30cm). This creates a natural look and increases the floor's stability.
This guide will walk you through everything you need to know before you begin

Tape measure, pencil, spacers, a pull bar, a tapping block, a rubber mallet, and a fine-toothed saw (jigsaw or handsaw).
This is mandatory for laminate flooring. It provides cushioning, sound absorption, and a moisture vapor barrier. Roll it out over the entire subfloor before installing the planks.
Always refer to the specific installation and warranty guidelines provided by your laminate flooring manufacturer. Requirements can vary between products and collections.

Explore Our Laminate Collection