More Than Instructions: Your Installation System.
From subfloor prep to final inspection, integrate our proven procedures into your project workflow.


From subfloor prep to final inspection, integrate our proven procedures into your project workflow.
Preparation & Planning for Engineered Wood Flooring Your Guide to a Flawless Installation

What to do: Upon delivery, bring the flooring boxes into the room where they will be installed. Open the boxes to expose the planks.
Why it matters: Wood is a natural material that expands and contracts with temperature and humidity. Acclimation allows the wood to adjust to your home's specific conditions, preventing warping, buckling, or gapping after installation.
Duration: Typically 48-72 hours. Follow your manufacturer's specific instructions.

Your subfloor (the base beneath your flooring) must be:
Clean: Free of all dust, debris, and old adhesive.
Dry: For concrete subfloors, a moisture test is essential. The moisture content must be within the manufacturer's allowable limit. Example: If wood is at 9%- concrete should be within 2% range no more than 11%.
Level: Variations should not exceed 3mm over a 1-meter span. Any high or low spots must be leveled.
Structurally Sound: Firm and free of any movement or squeaks.

Your home's indoor climate should be consistent with its normal living conditions (typically 59°F-77°F and 40%-60% relative humidity). This is vital for long-term performance.
Preparation & Planning for Engineered Wood Flooring Your Guide to a Flawless Installation


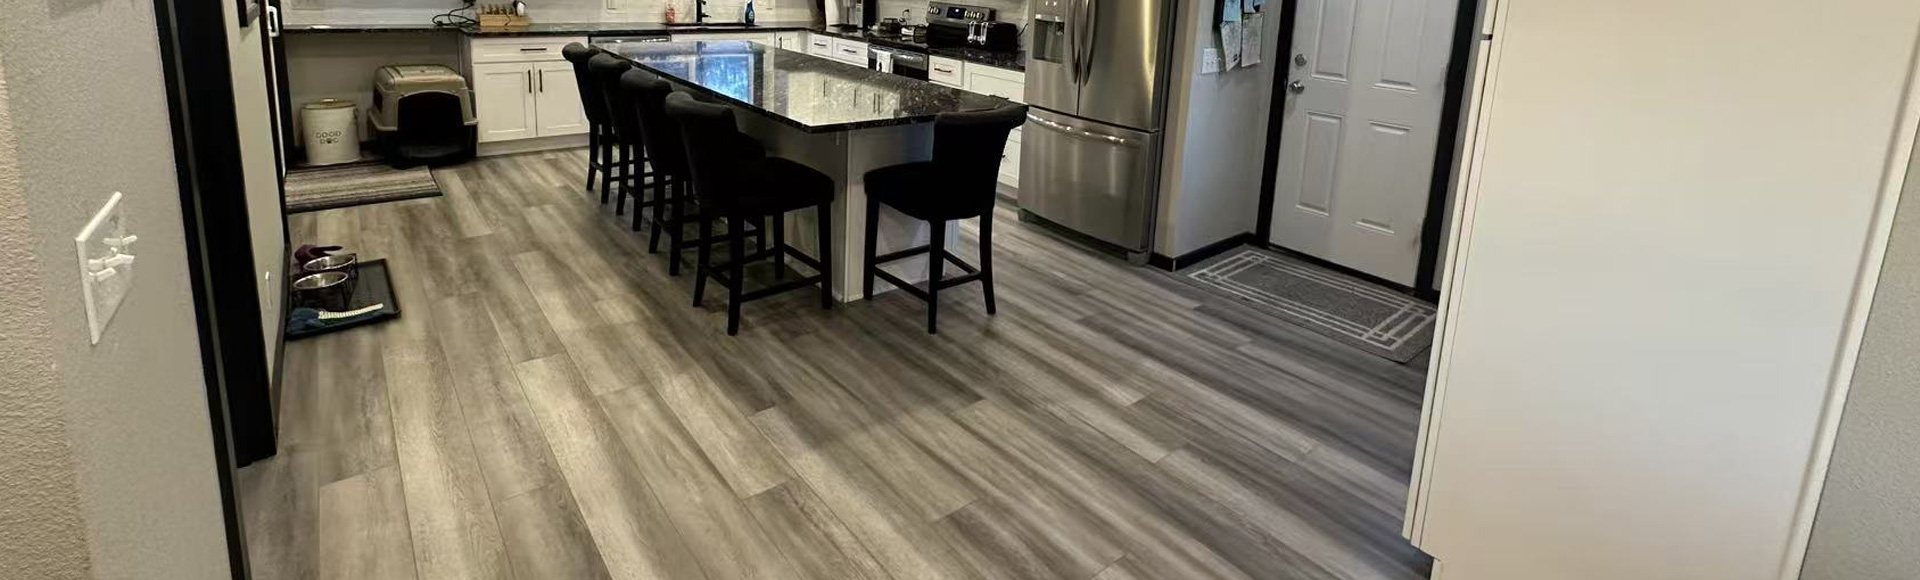
l Installing planks parallel to the longest wall or the main source of light (e.g., a large window) generally makes a room feel more spacious and aesthetically pleasing.

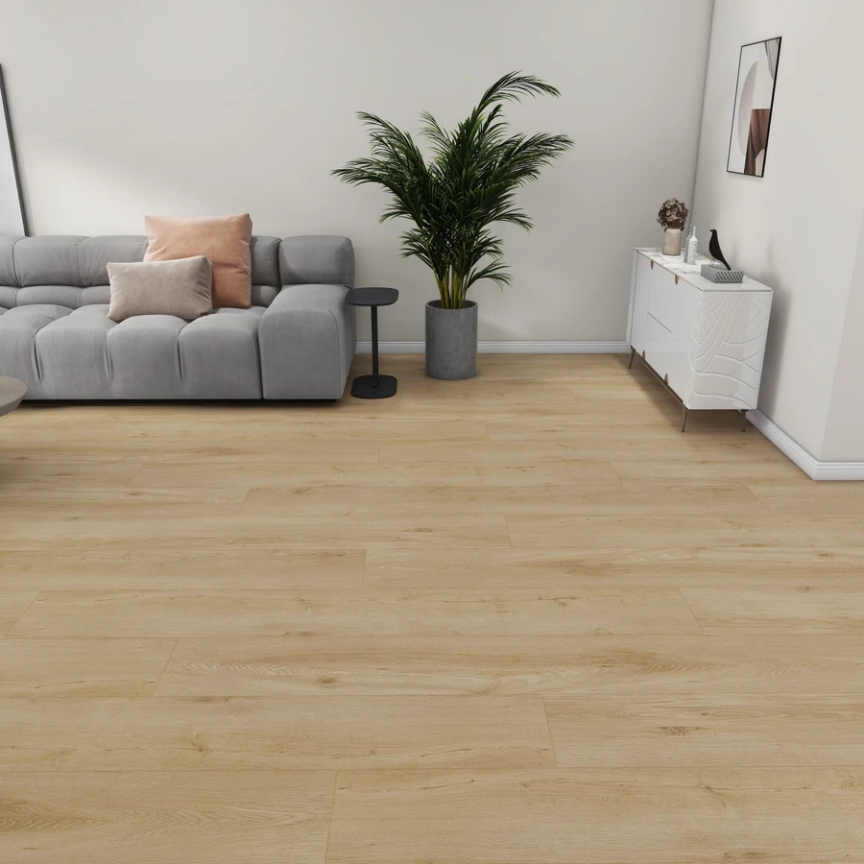
Plan the layout so that end joints between planks are staggered randomly, with a minimum recommended distance (e.g., 15cm) between joints in adjacent rows. This creates a natural look and enhances structural integrity.

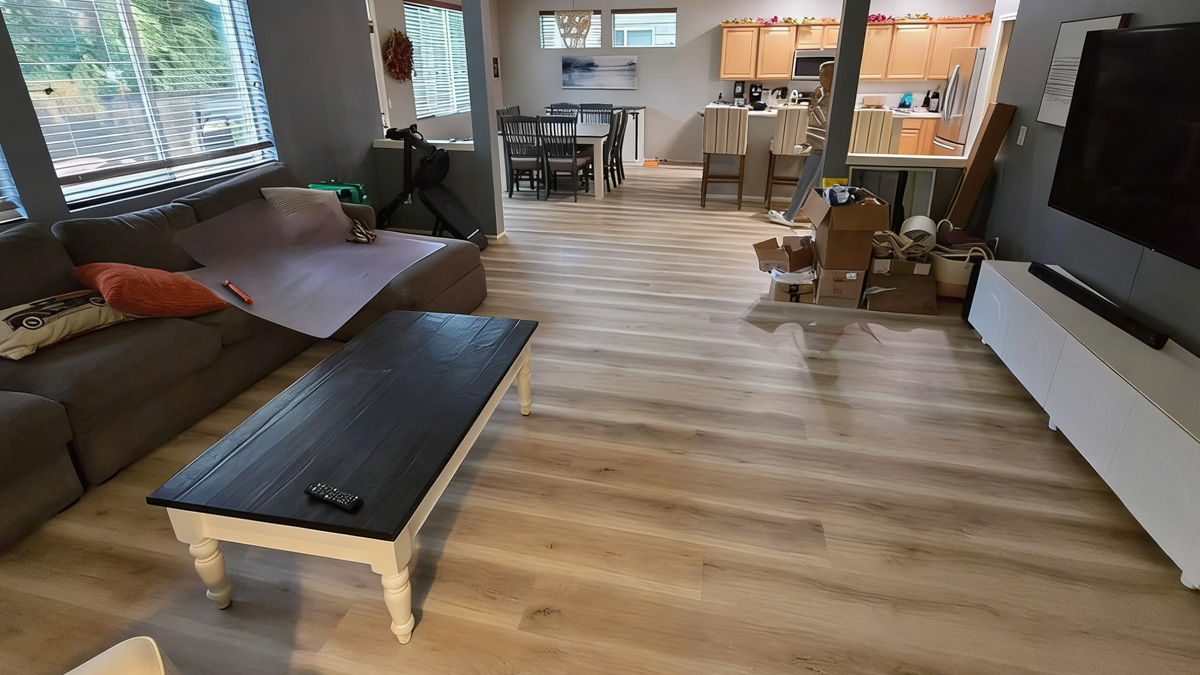
Plan for transition moldings in doorways where the new flooring meets another type of flooring (e.g., tile, carpet) or in rooms that are excessively large, to allow for expansion.
Always refer to the installation guidelines provided by your specific engineered wood flooring manufacturer. Requirements can vary based on the product's construction, locking system, and finish.
Explore Our Engineered Wood Flooring Collection